That was indeed a whole day. Caravan now back in the parking spot blocking it in again.Fred wrote:That's basically a whole day
- DONE! Drive it out into the open
- DONE! Refill it with straight water
- DONE! Bring it up to temperature, perhaps with a drive
- DONE! Dump the water, flushing as much as I can through with the hose
- DONE! Fill with concentrated oxalic acid - no fear of water pump issues, it's coming out anyway. The rest could do with a derust :-p
- DONE! Take it for a drive to get full cooling system coverage at a nice high temperature
- DONE! Come home and dump the acid out
- SKIPPED Flush with fresh water a few times until satisfied
- DONE! Fill with strongish solution of sodium carbonate (not bicarbonate like last time's minor fail/explosion)
- DONE! Take it for another drive to ensure that circulates through the entire system too
- DONE! Bring it home and dump out the carbonate solution
- DONE! Flush with water until satisfied
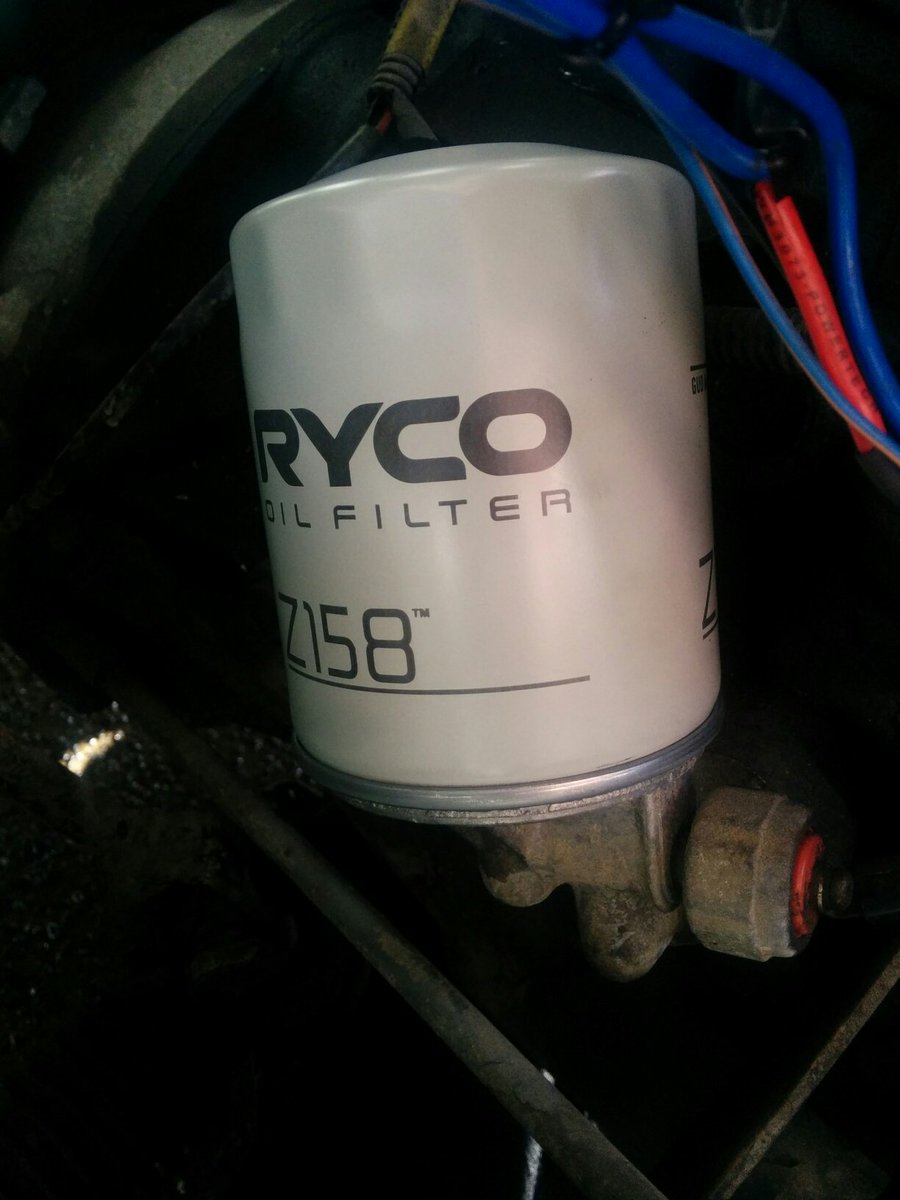
- DONE! Oil change, fill it with cheap 15w40 and maybe a new filter if it's lucky :-p
- DONE! Blow cooling system parts/engine dry with compressed air
- DONE! Back into the garage she goes
- DONE! Remove hoses from water pump and radiator
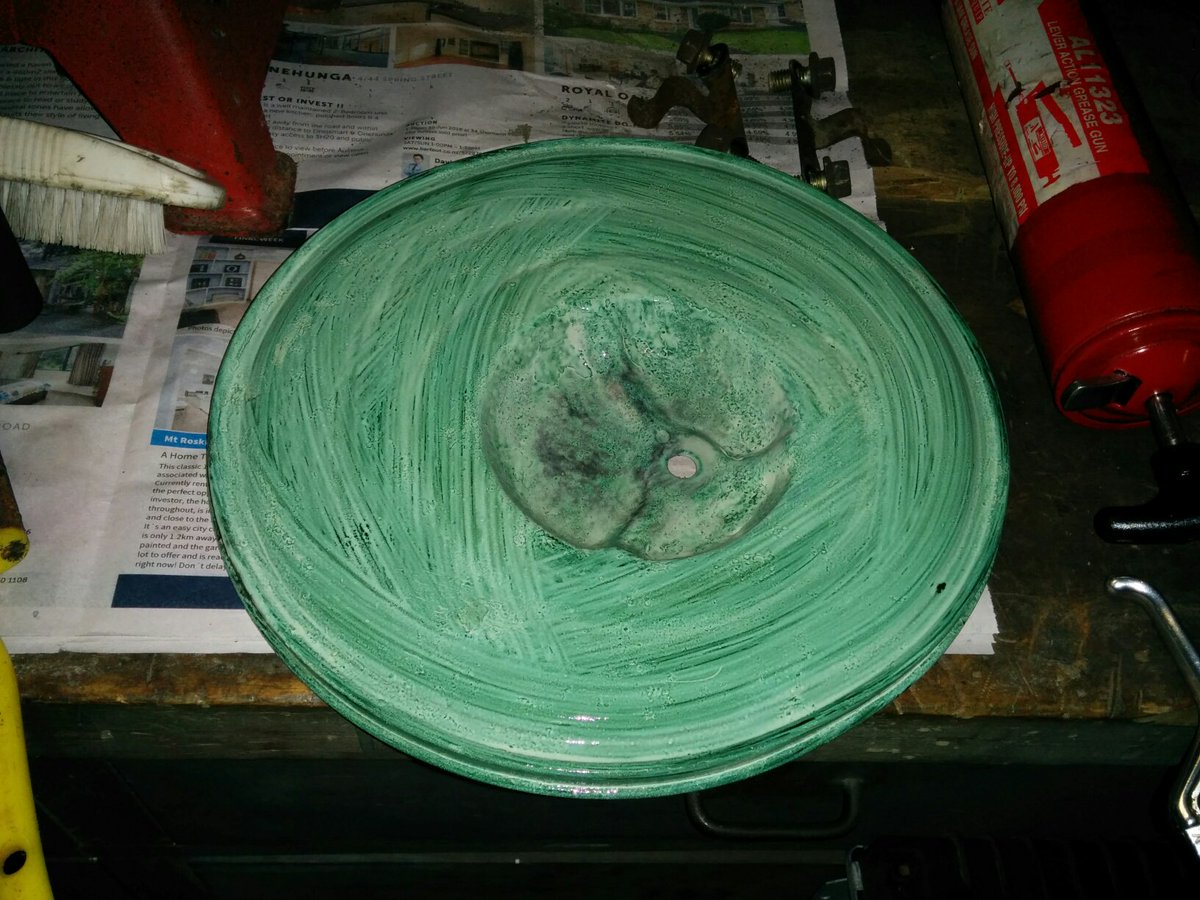
- DONE! Remove radiator from car and flush with water
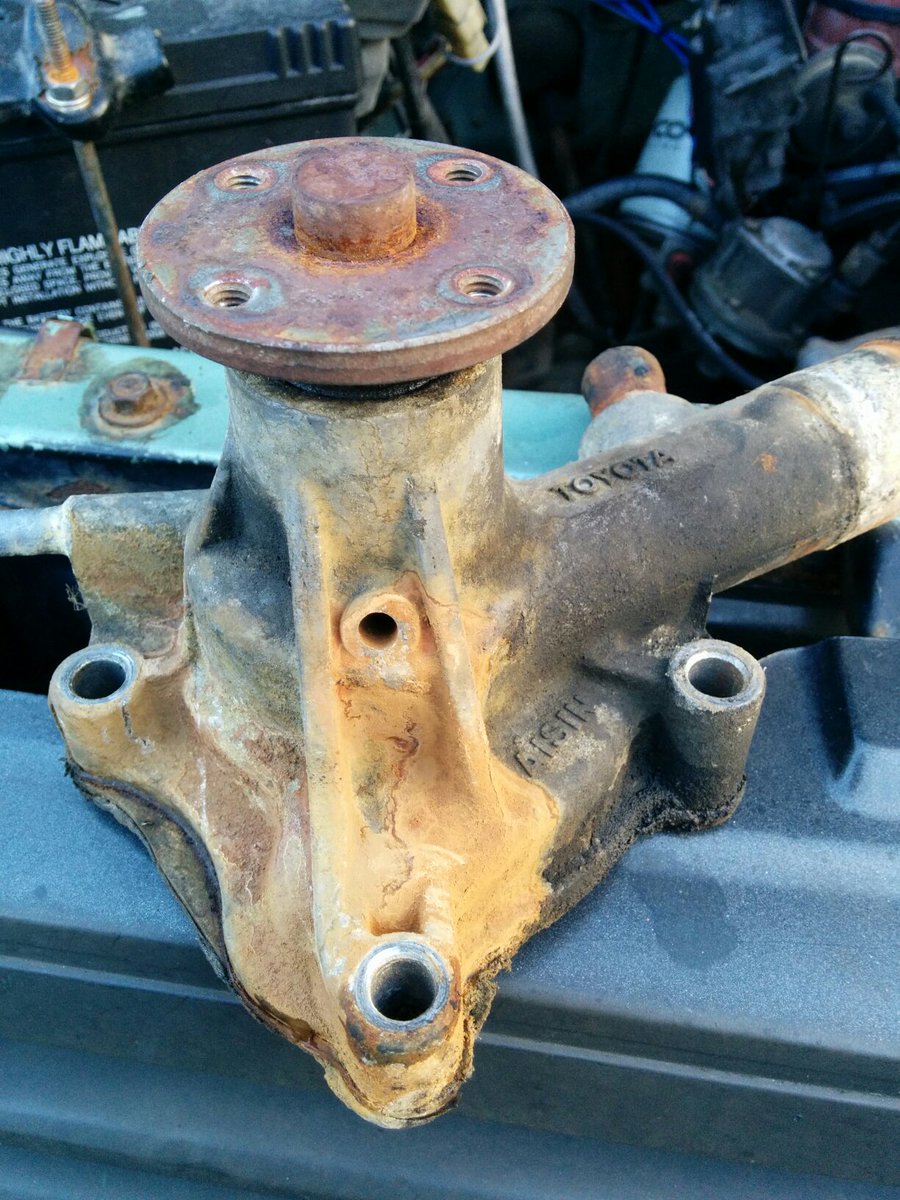
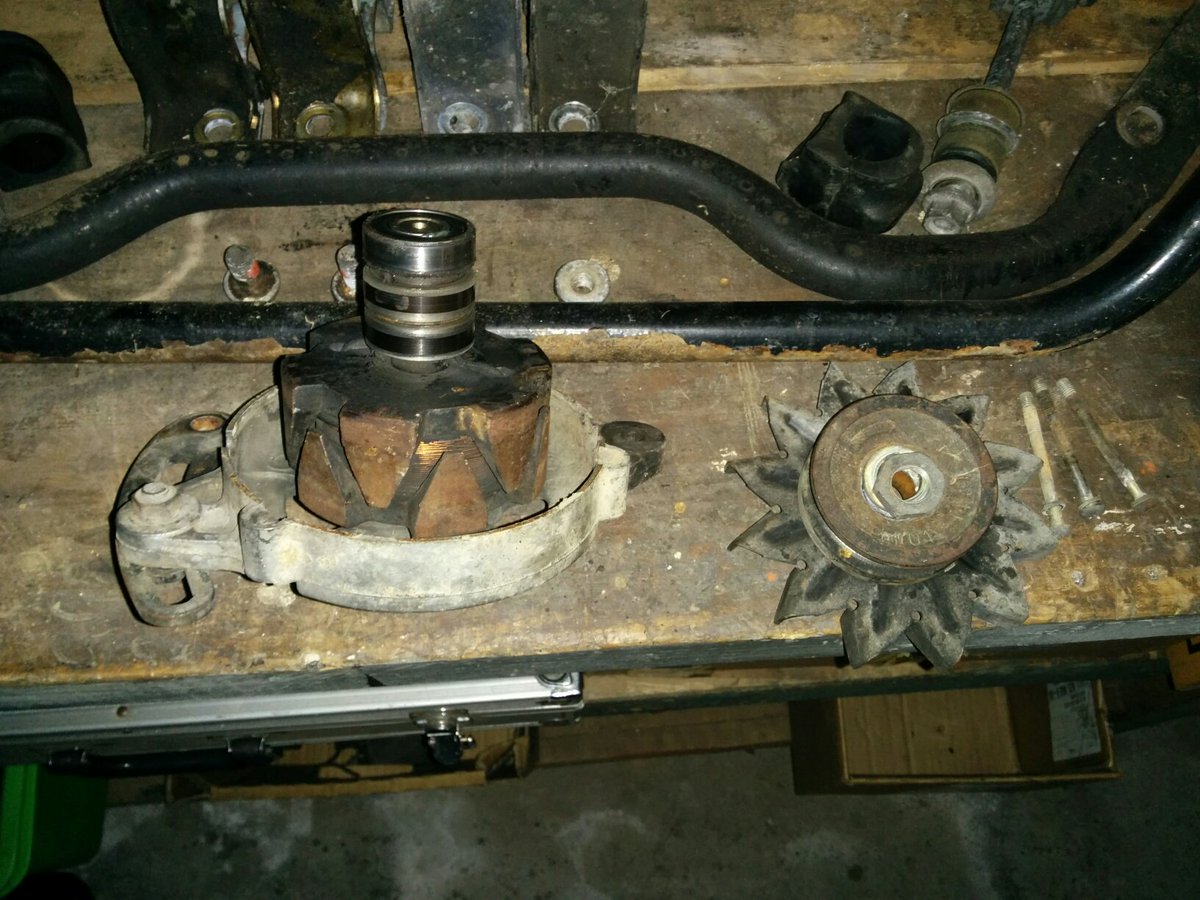
- DONE! Pull the water pump off the engine
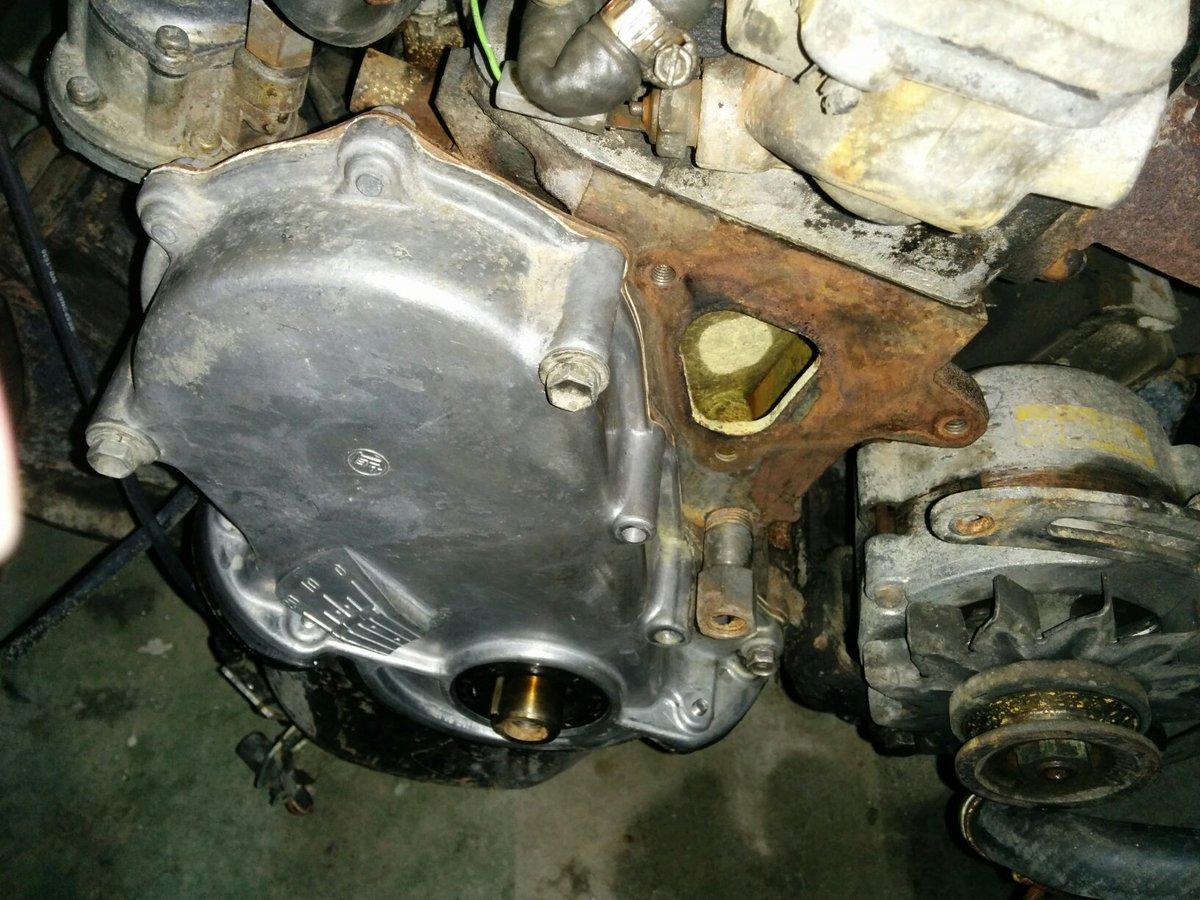
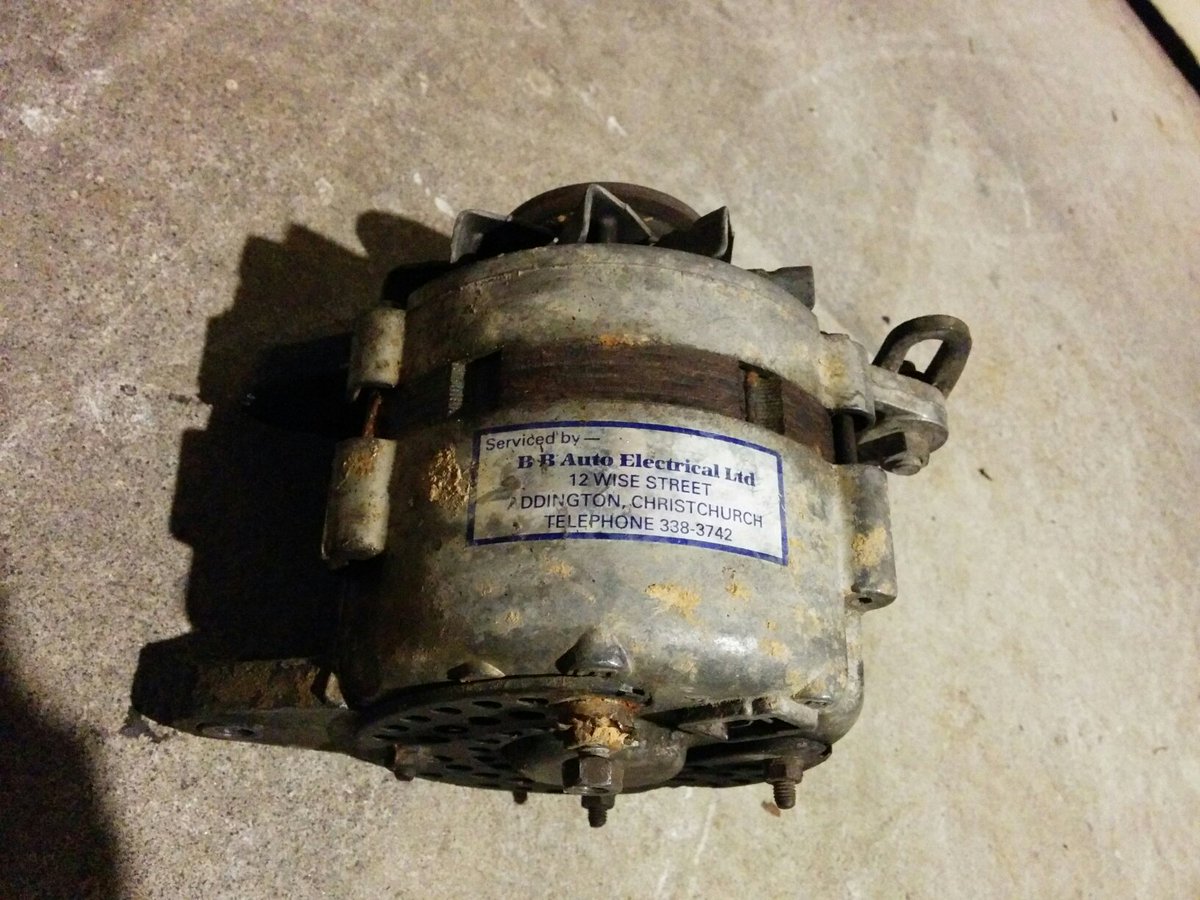
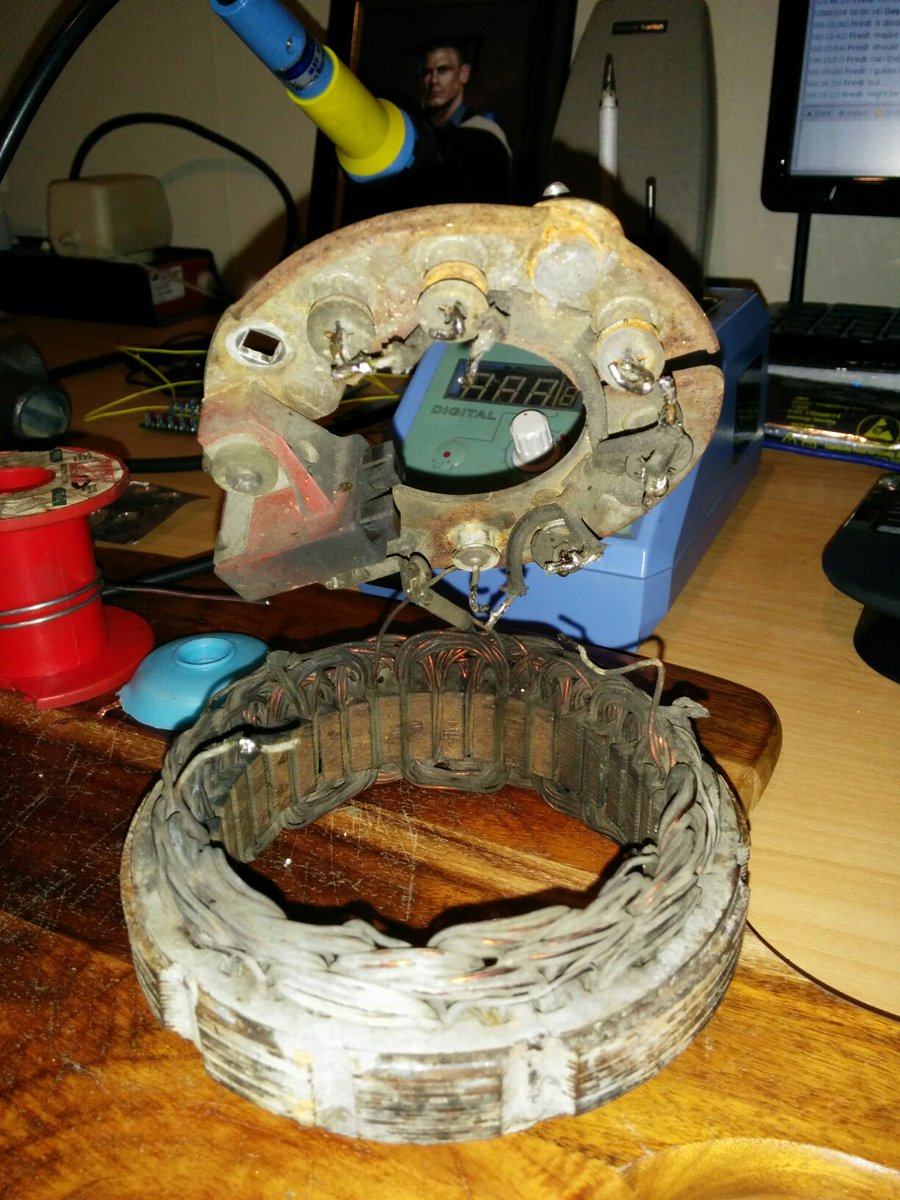
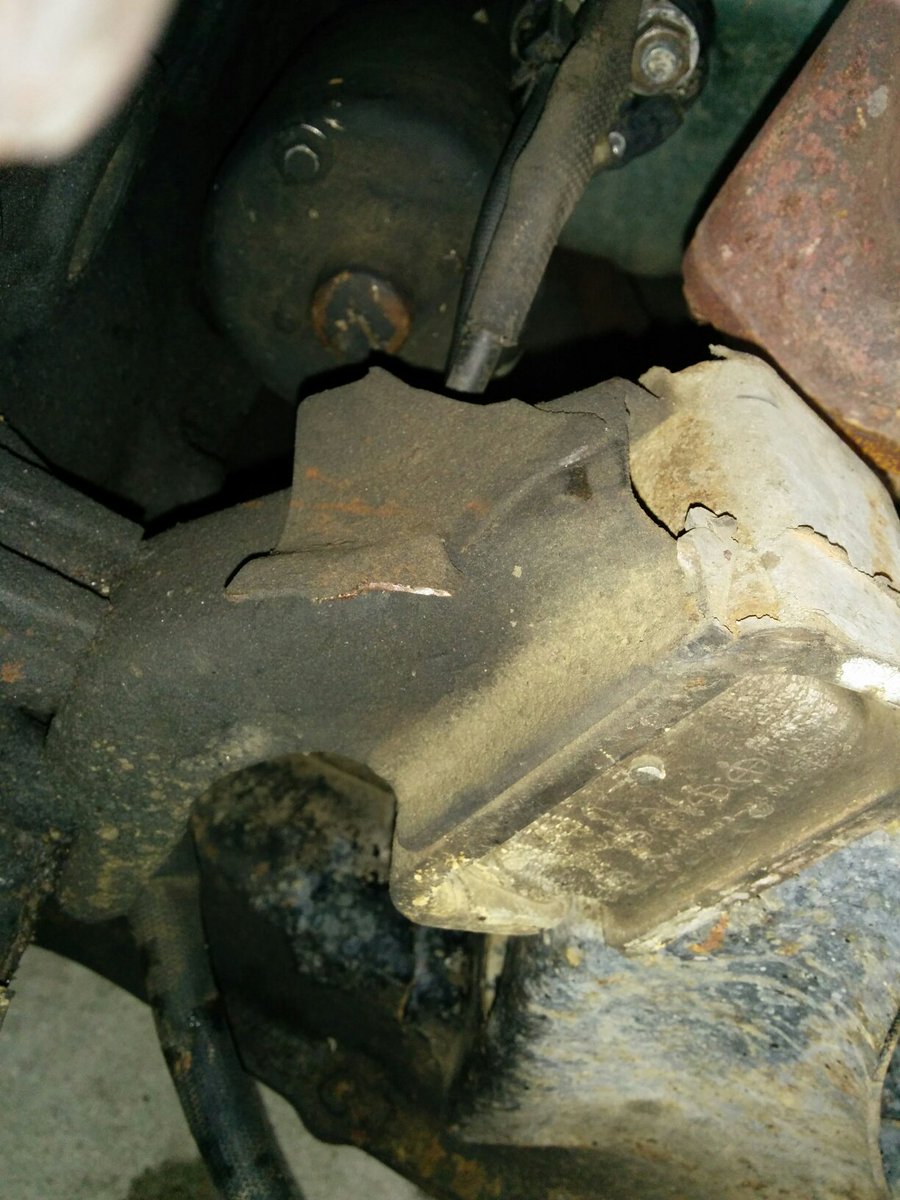
- DONE! Pull the alternator off the engine
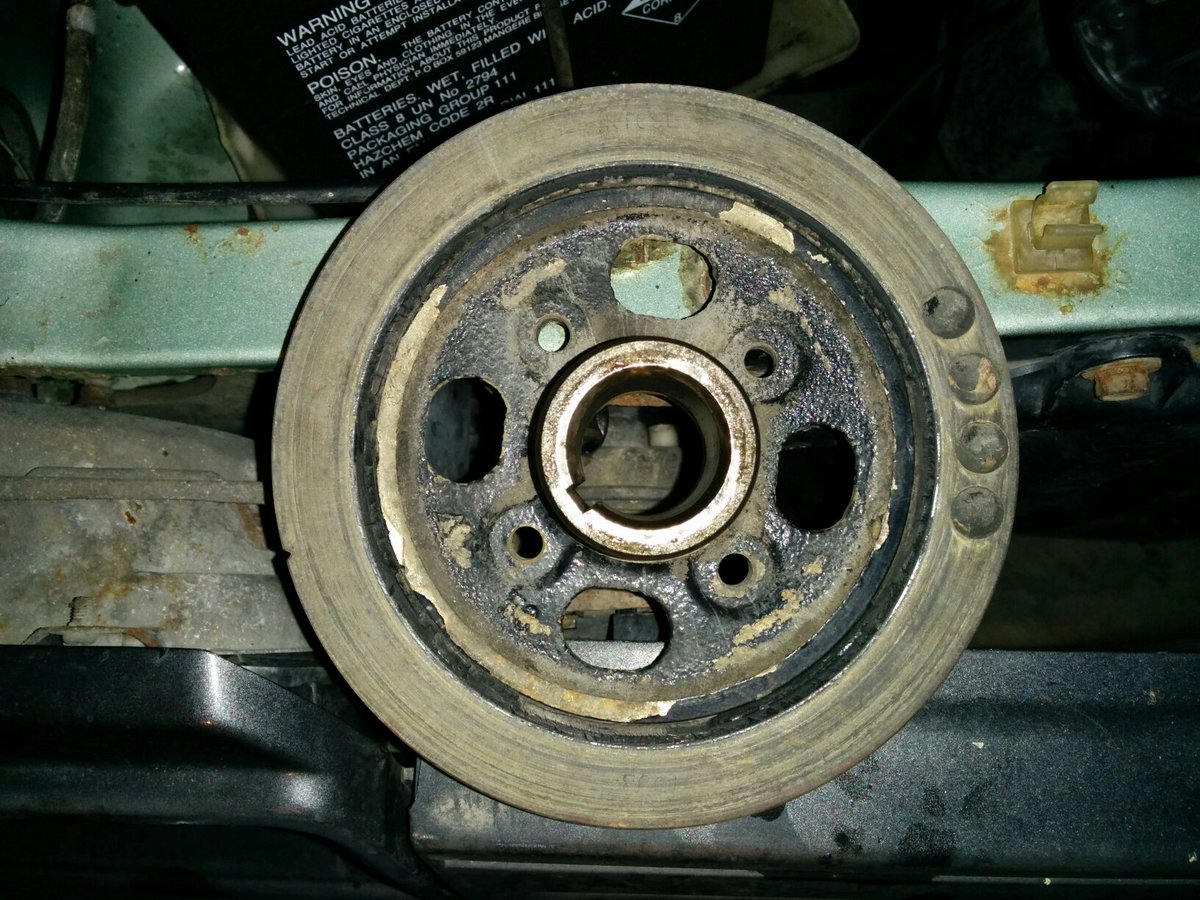
- DONE! Pull the trigger wheel off the engine (blocks access to large bolt)
- DONE! Pull the pulley off the engine (blocks access to small loose bolt)
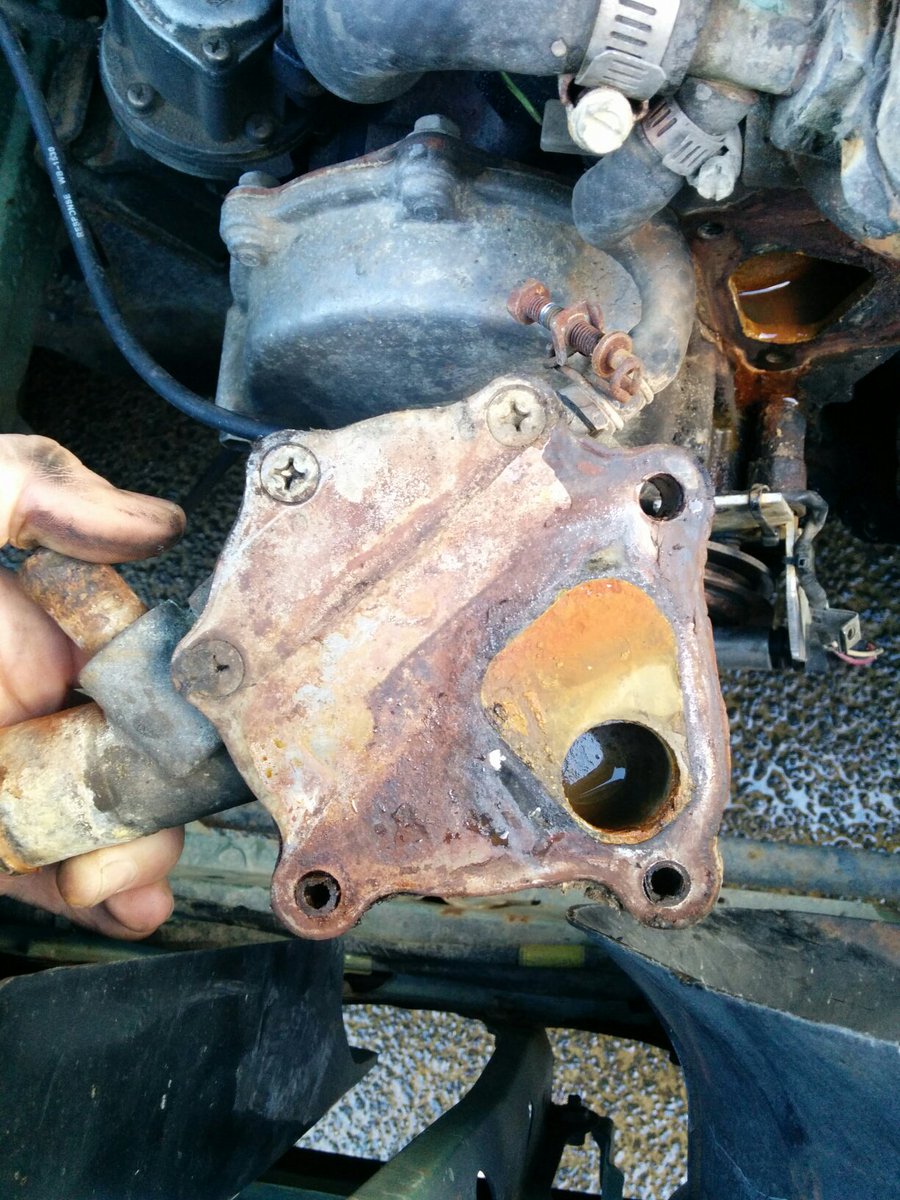
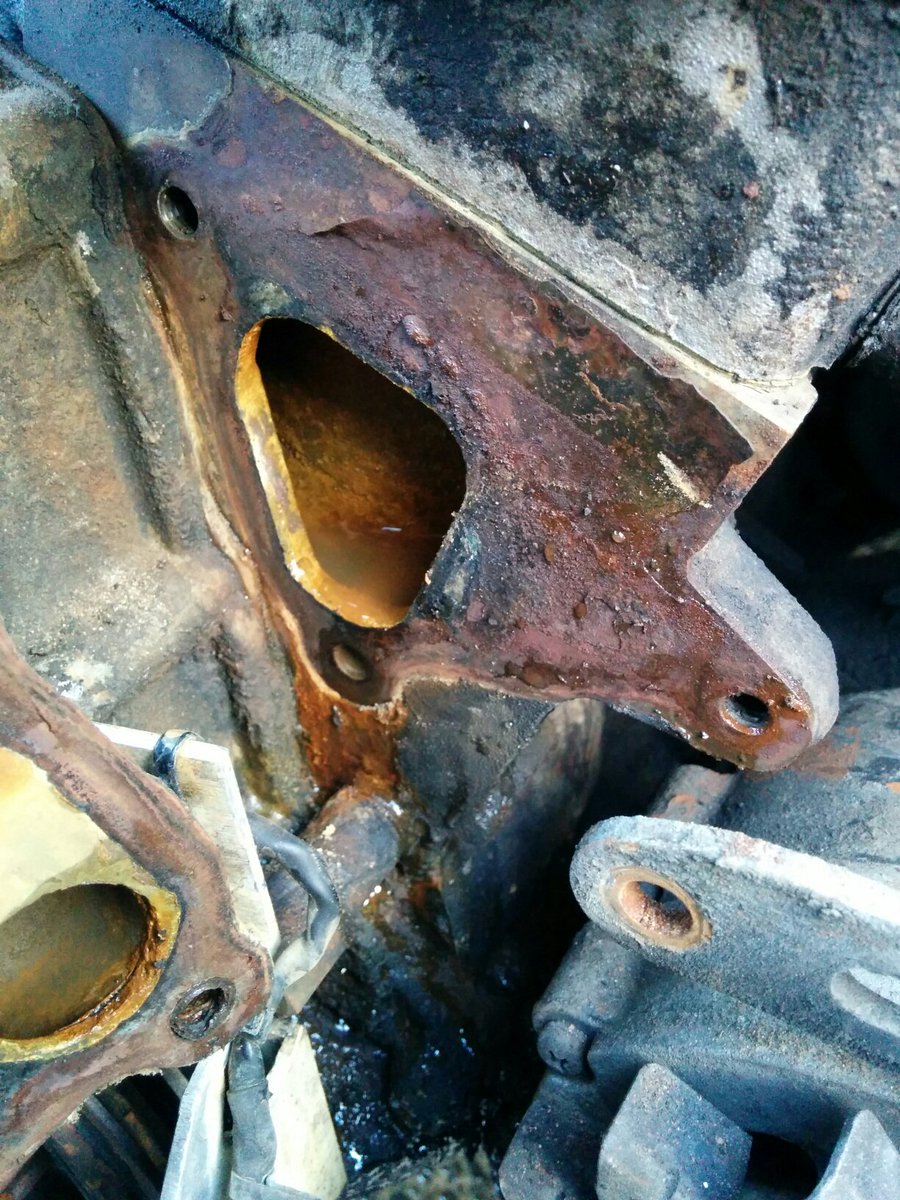
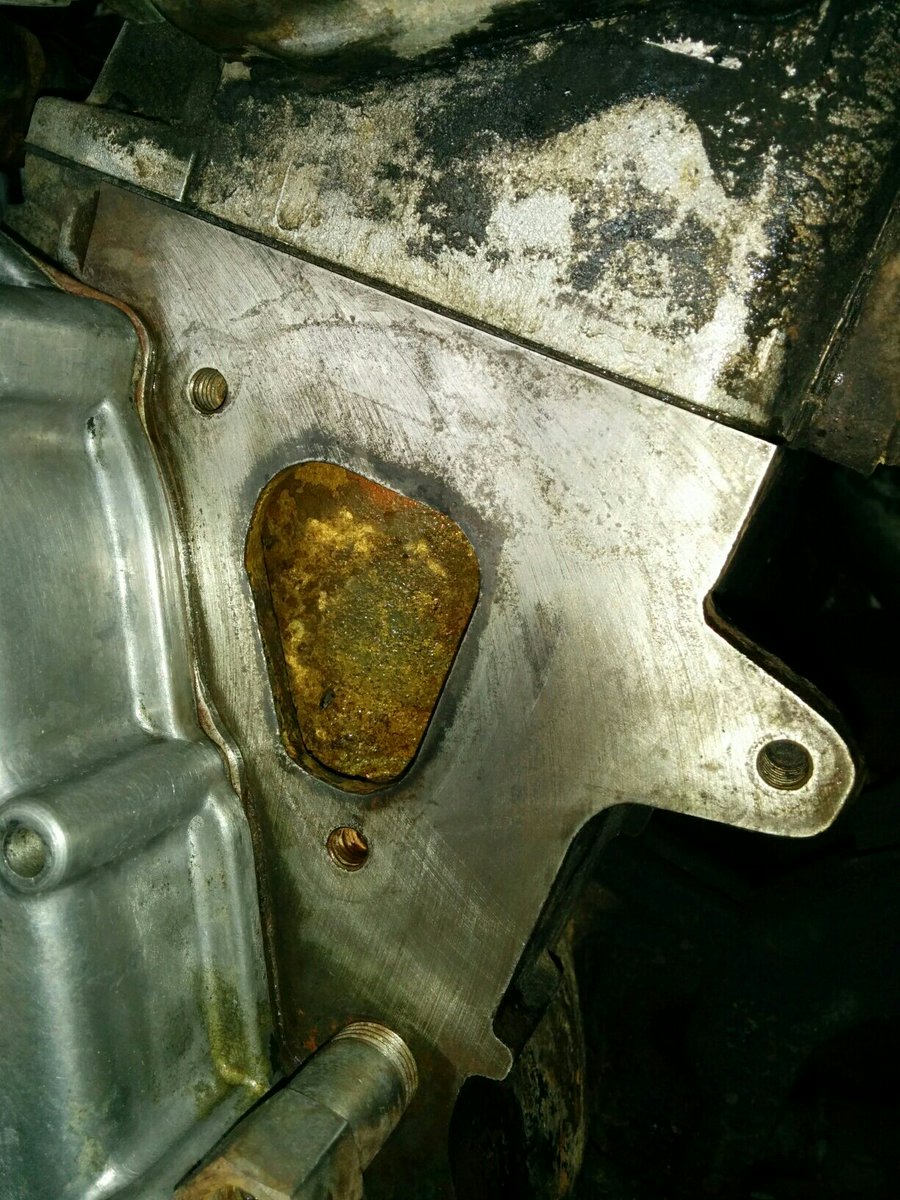
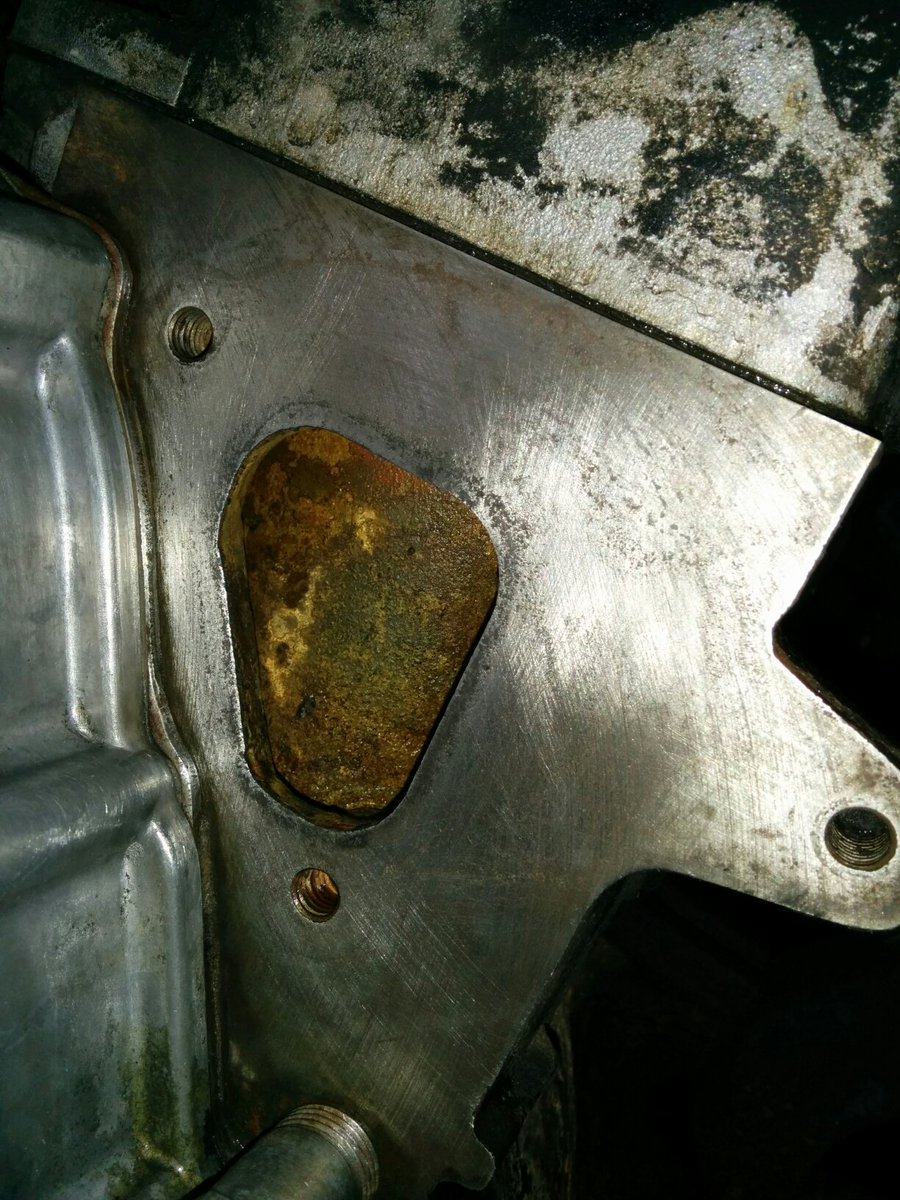
- DONE! Degrease the front cover and clean under the water pump etc
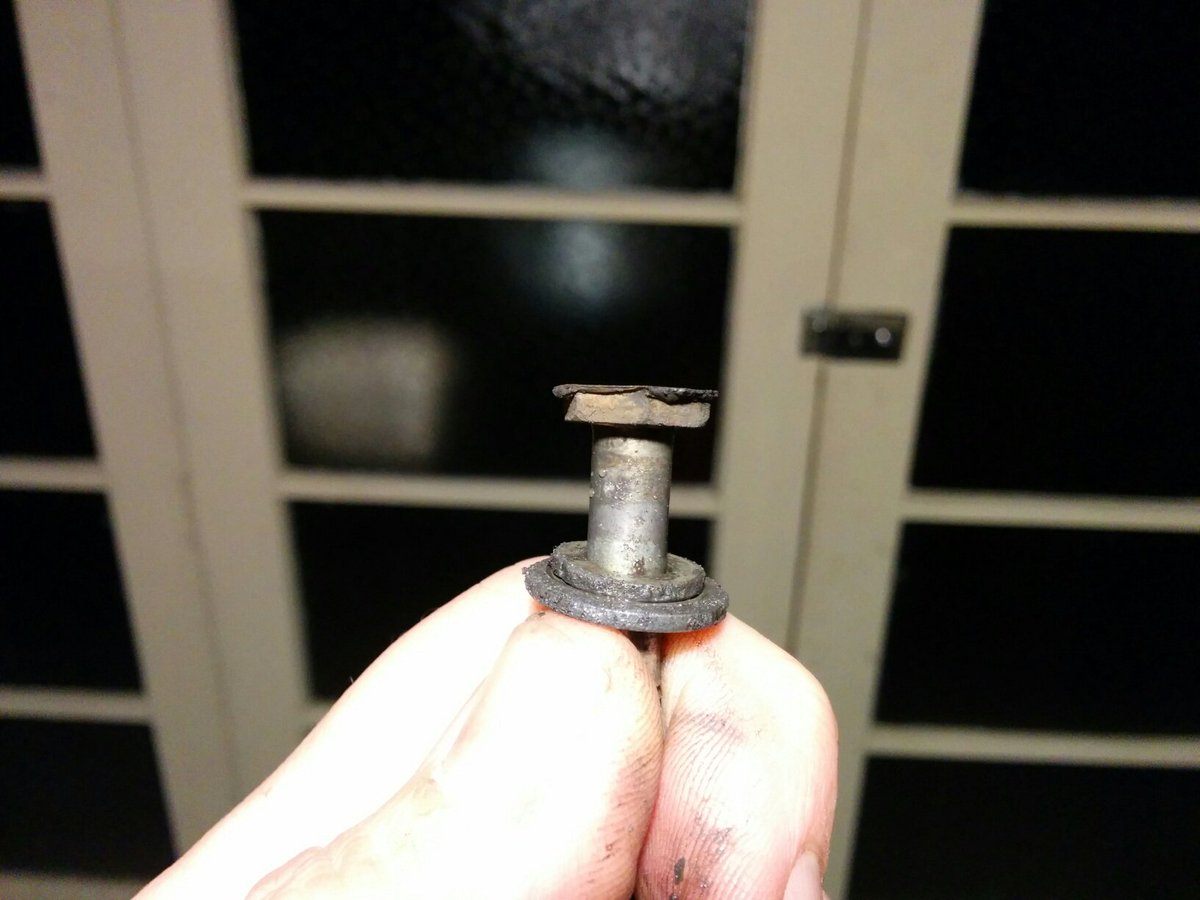
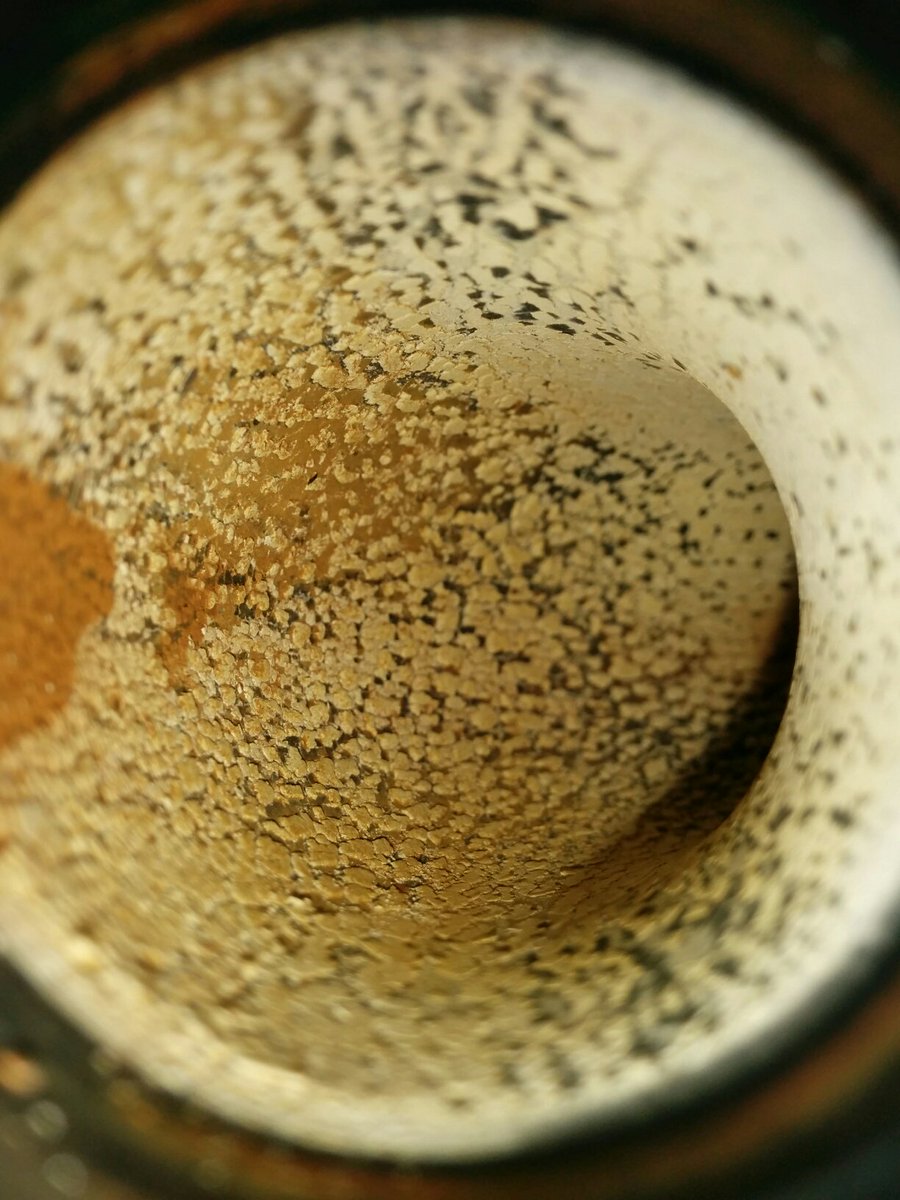
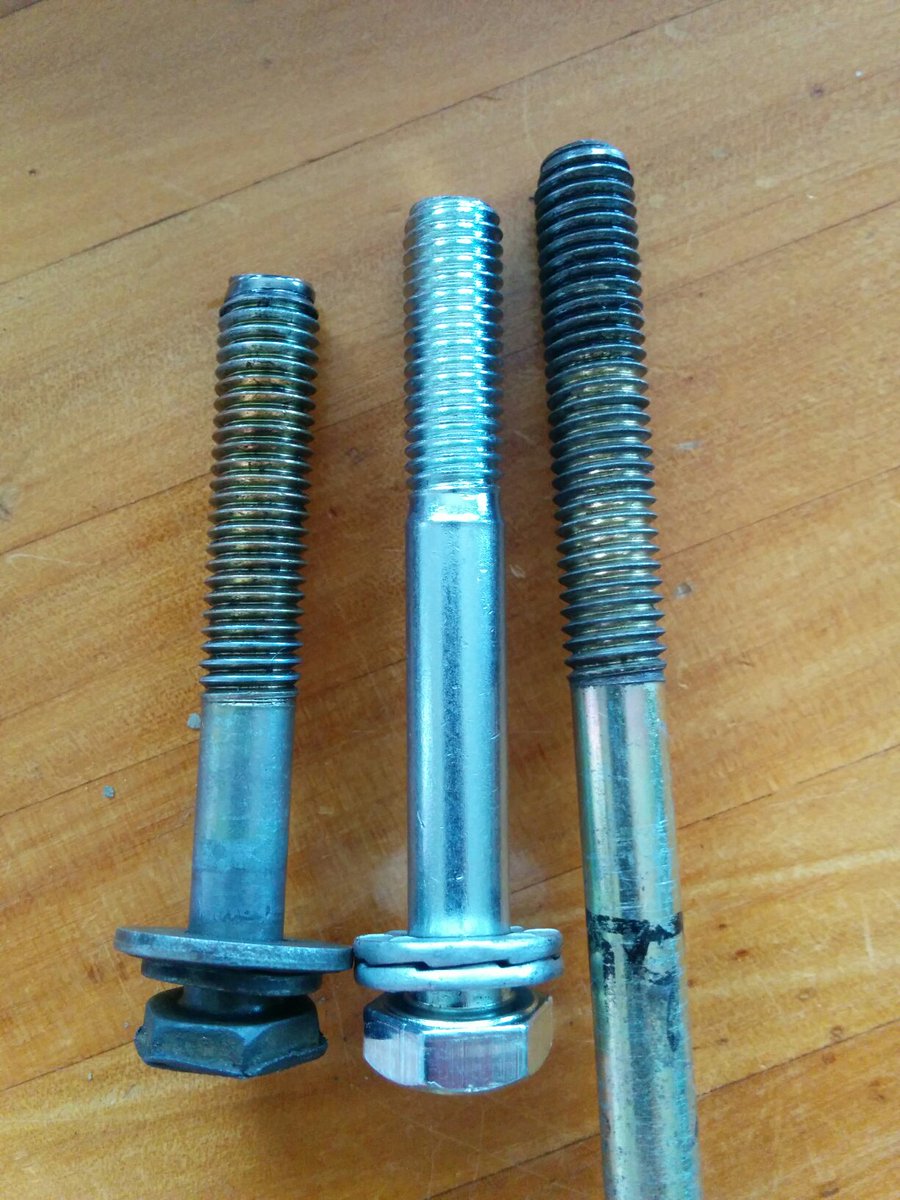
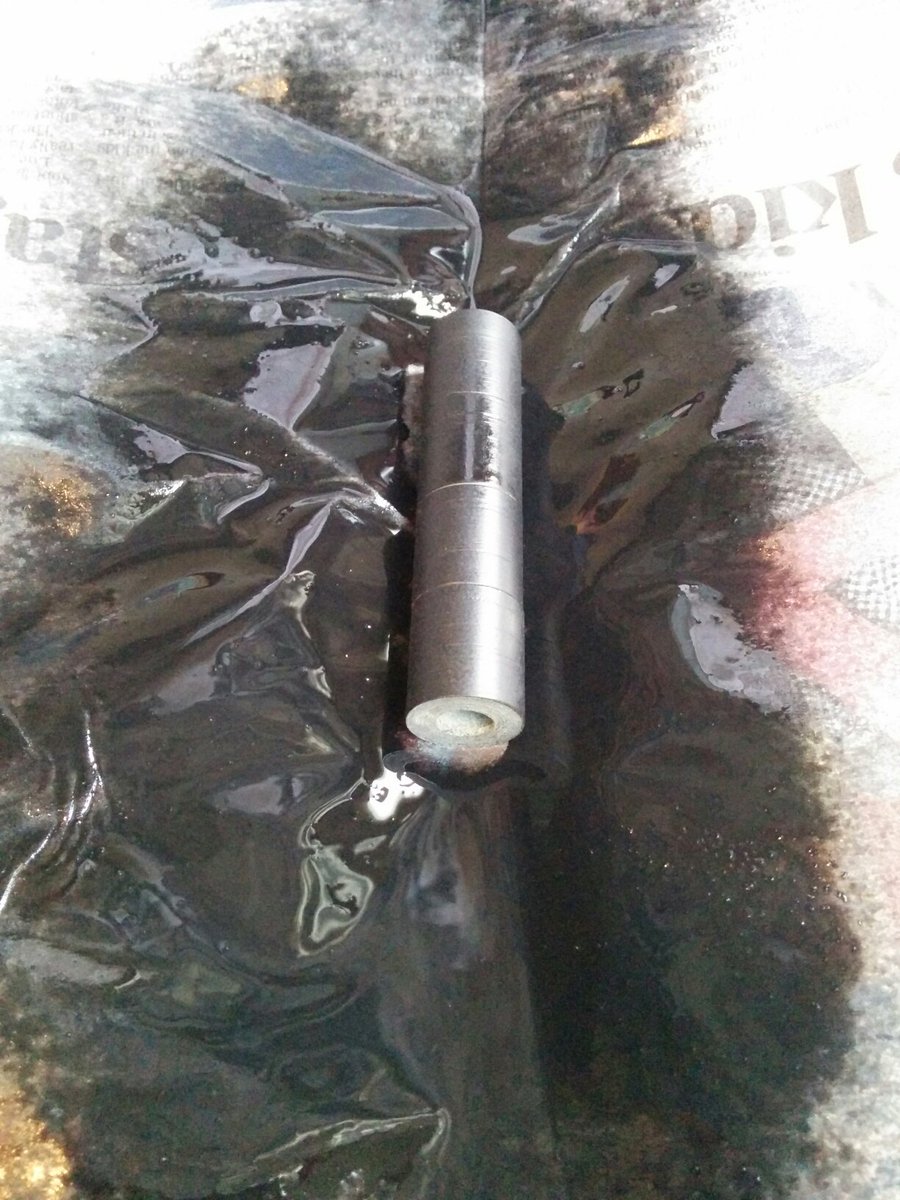
- DONE! Pull the loose bolt out and clean the hole
- DONE! Put away all tools, neatly arrange parts so they're not lost
- DONE! Hose down driveway extensively half a dozen times...
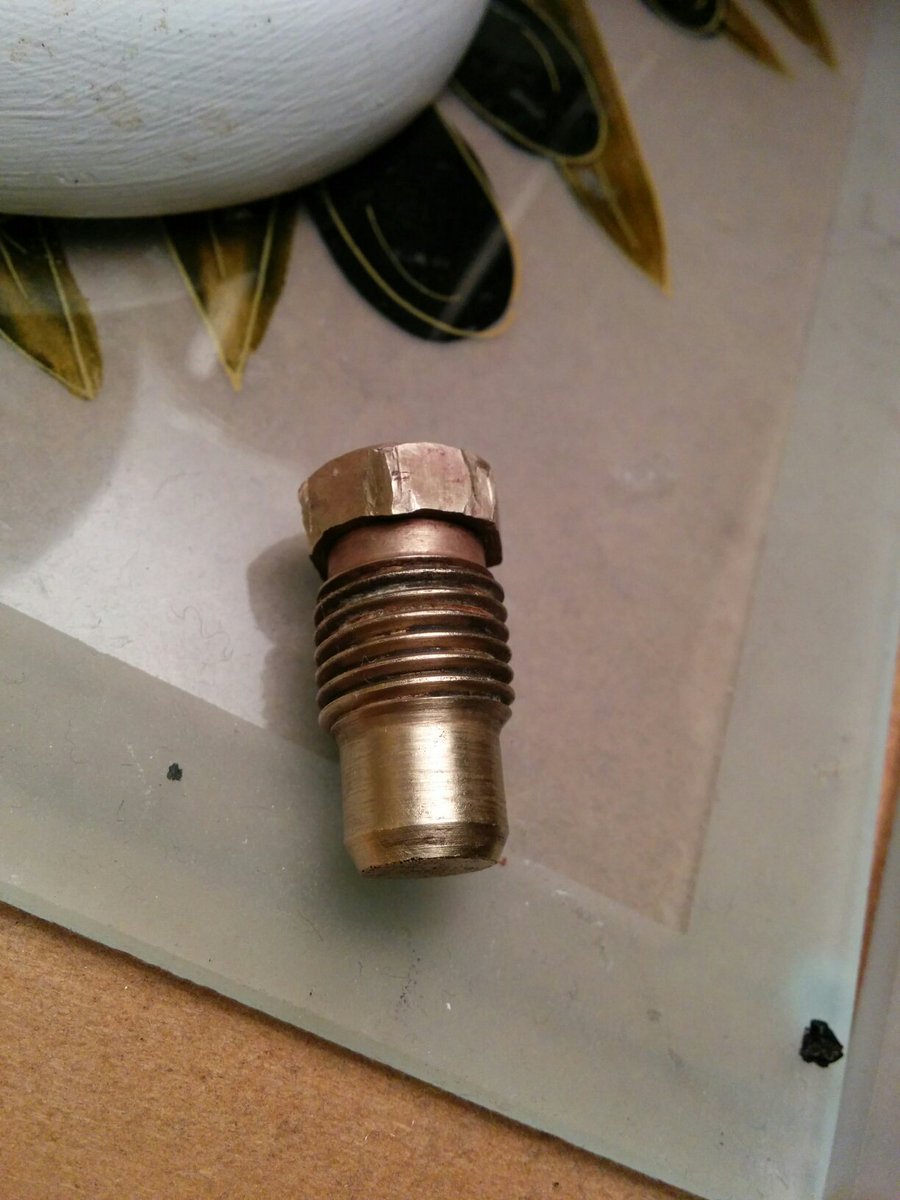
- Measure the hole depth, find a suitable replacement, torque up the new bolt with locktite
- Get the alternator fixed up and in good shape - as quickly as possible, reinstall as is if no luck
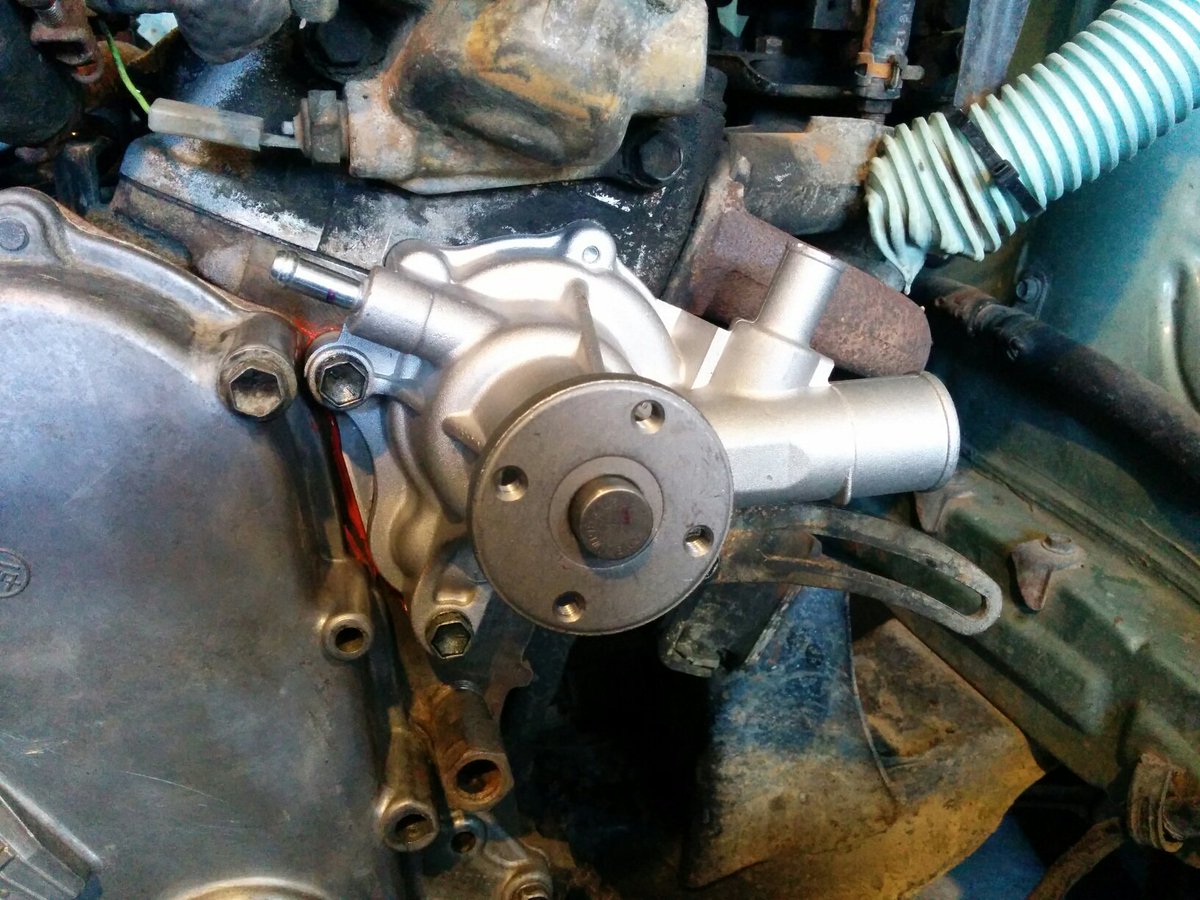
- Reverse of the above, but with new water pump and refill with nice green coolant for the first time in years, LOL.
So left to do are:
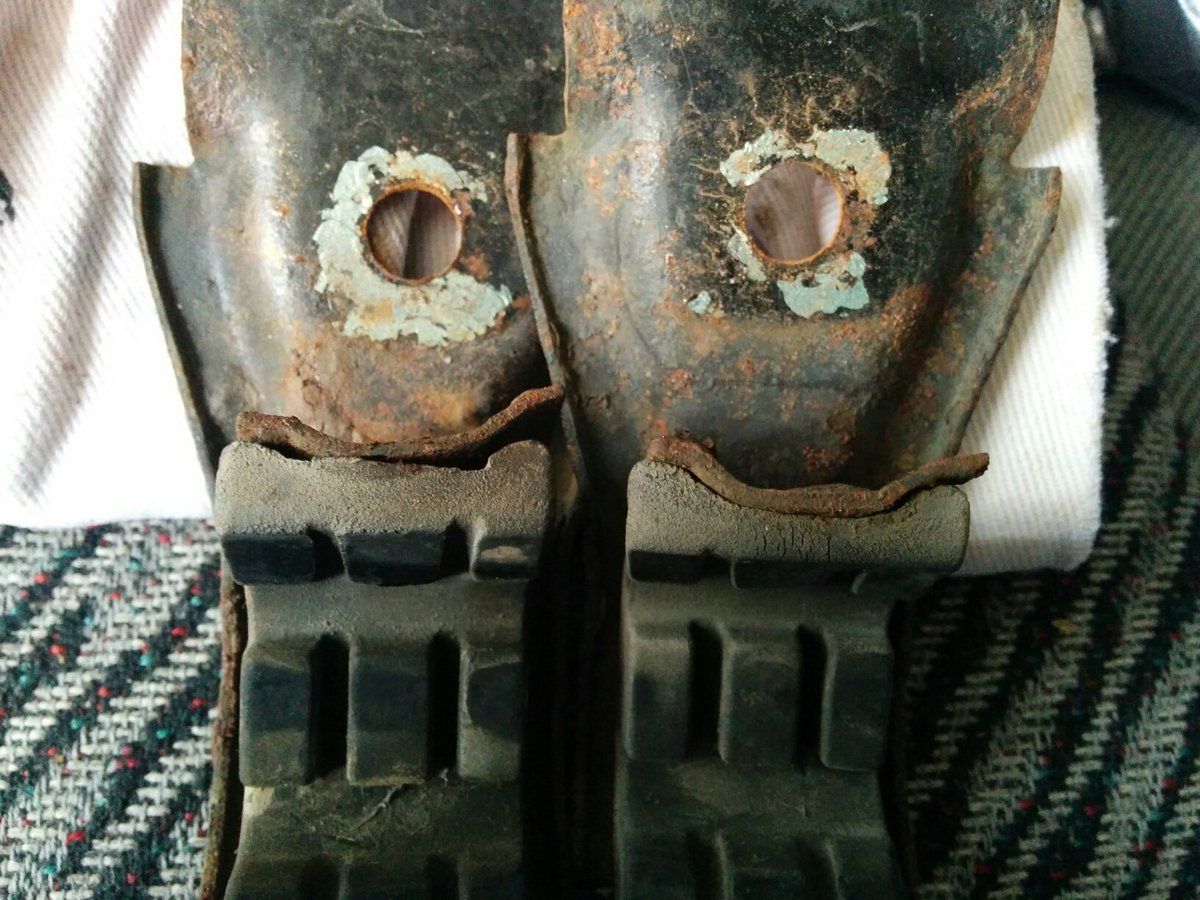
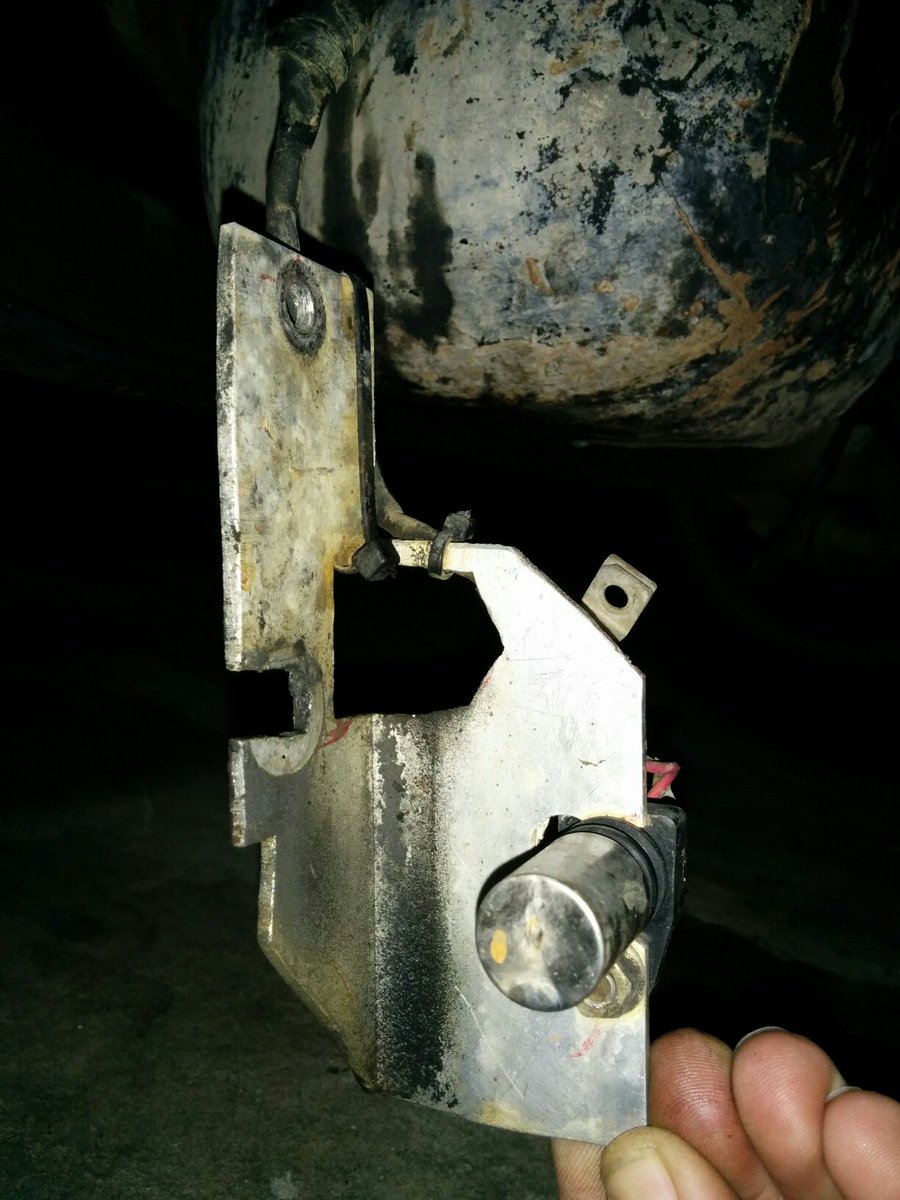
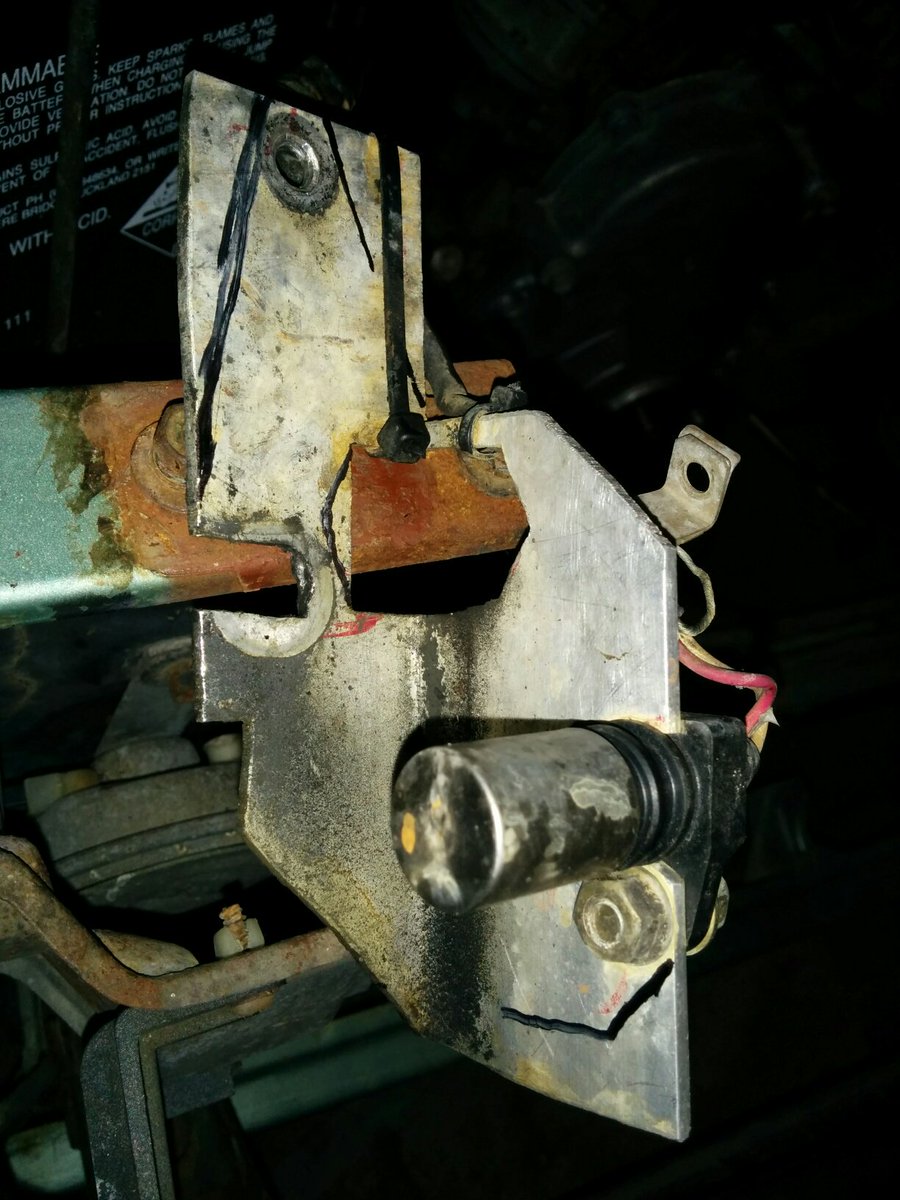
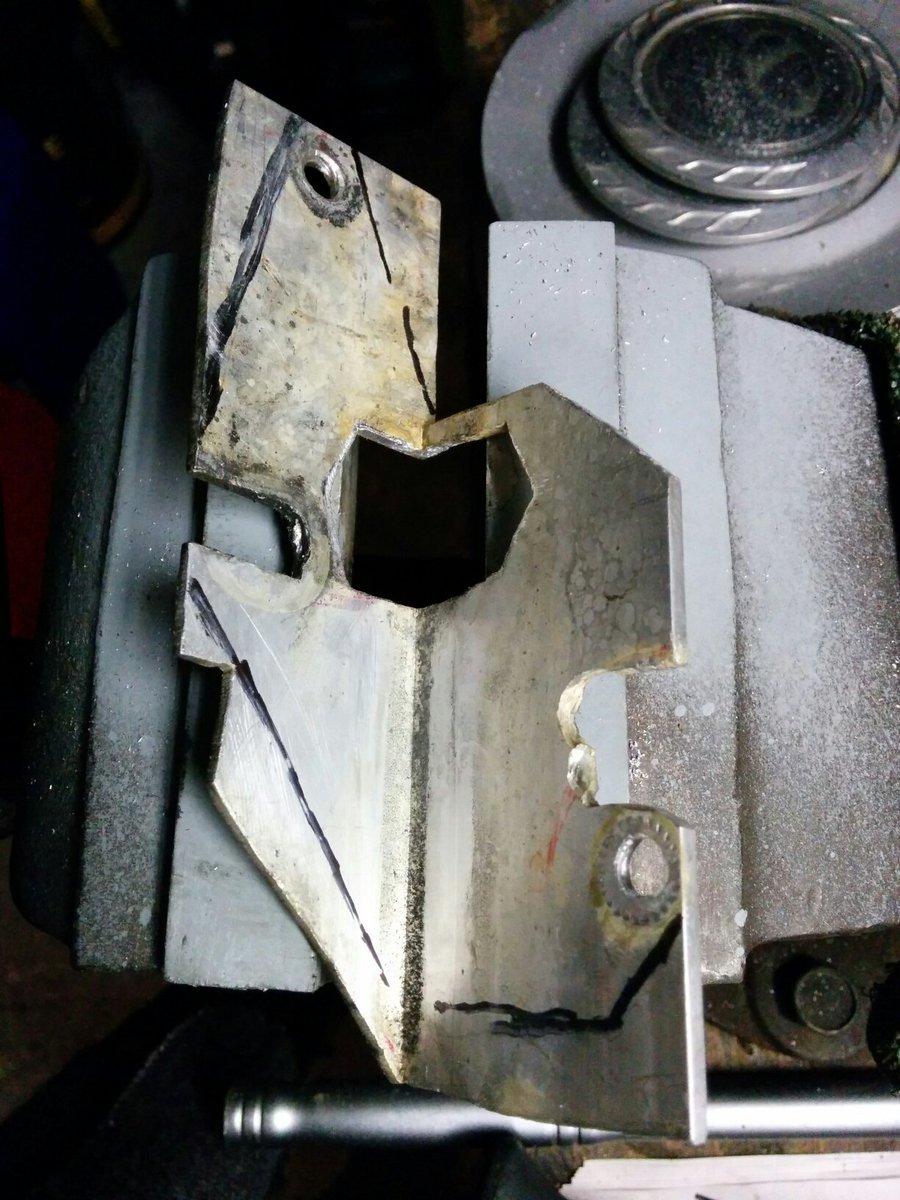
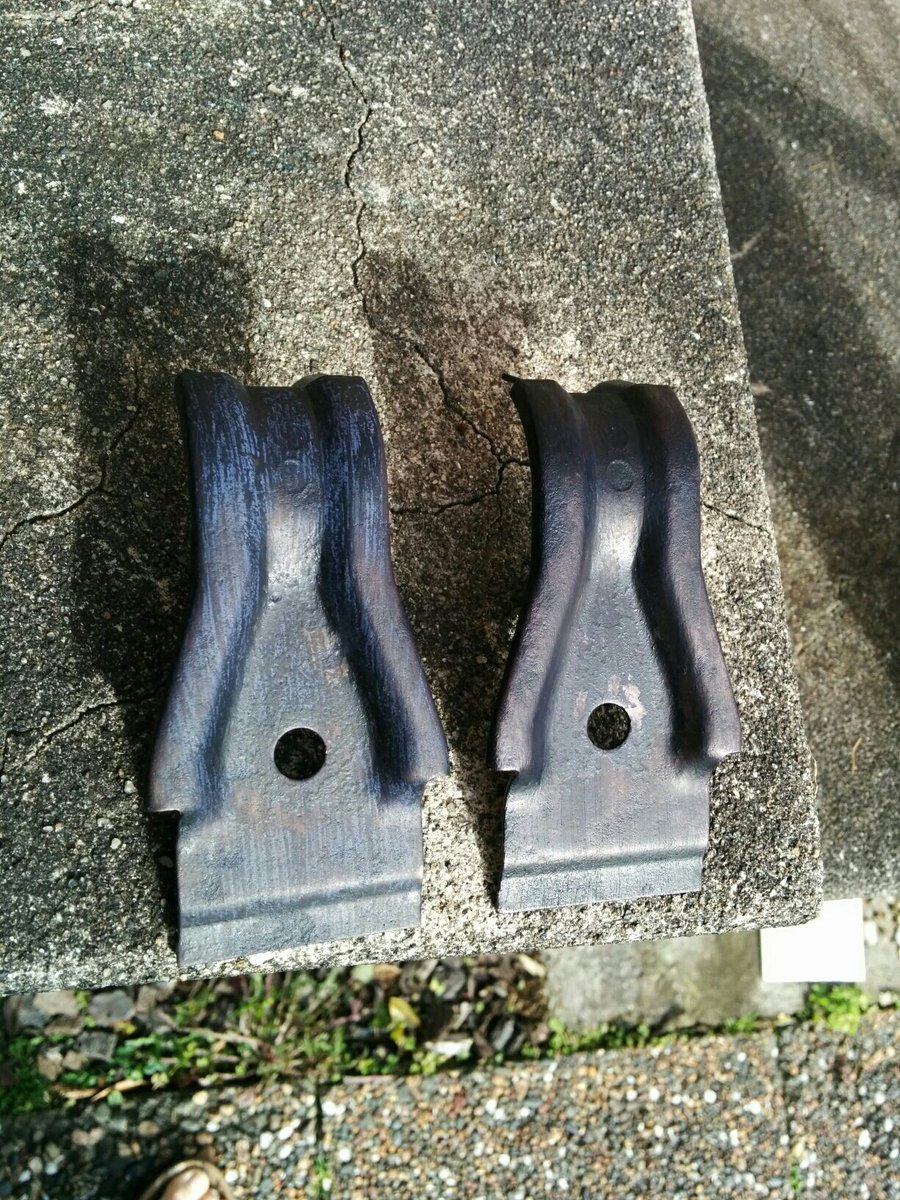
- Sort out the bracket fastener situation
- Tweak the bracket to give more clearance for drain bung and water pump bolt
- Fix one radiator mount bracket
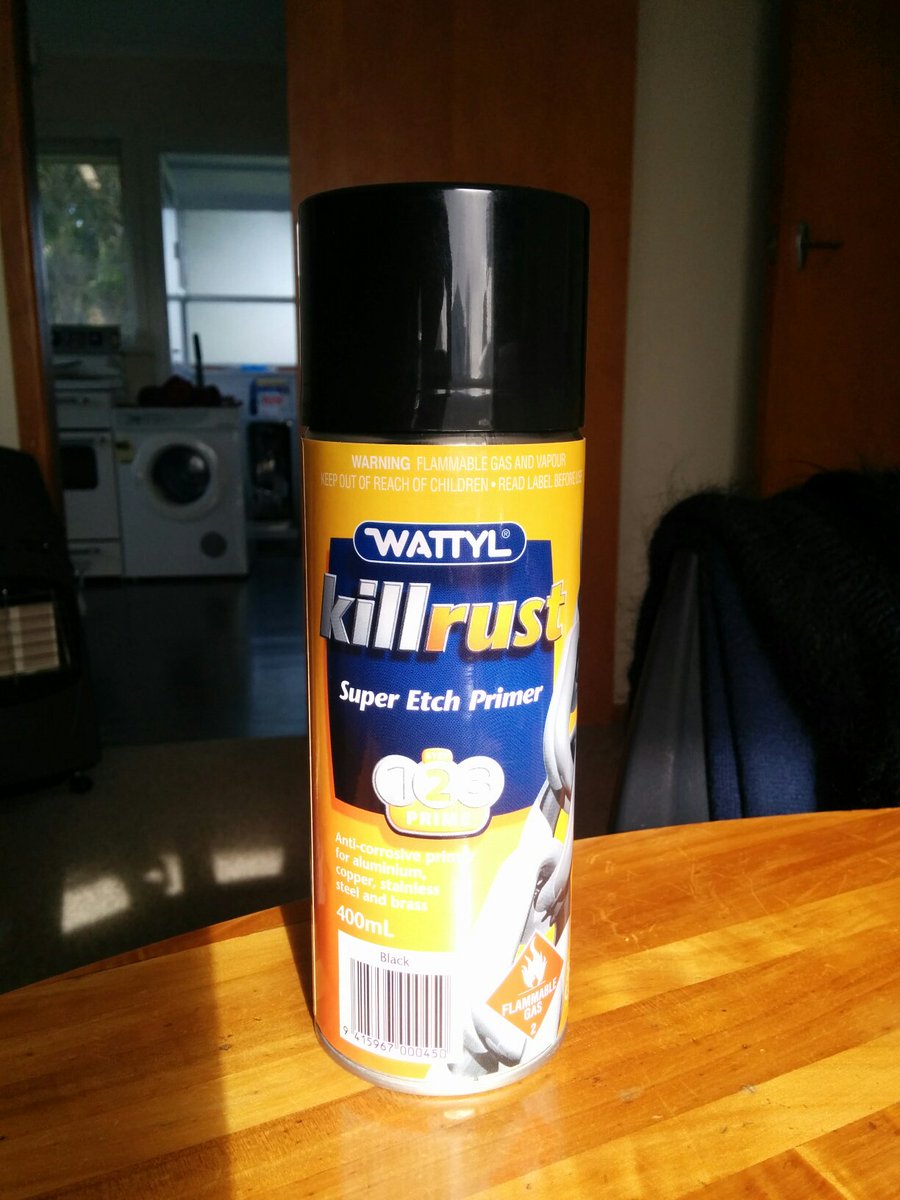
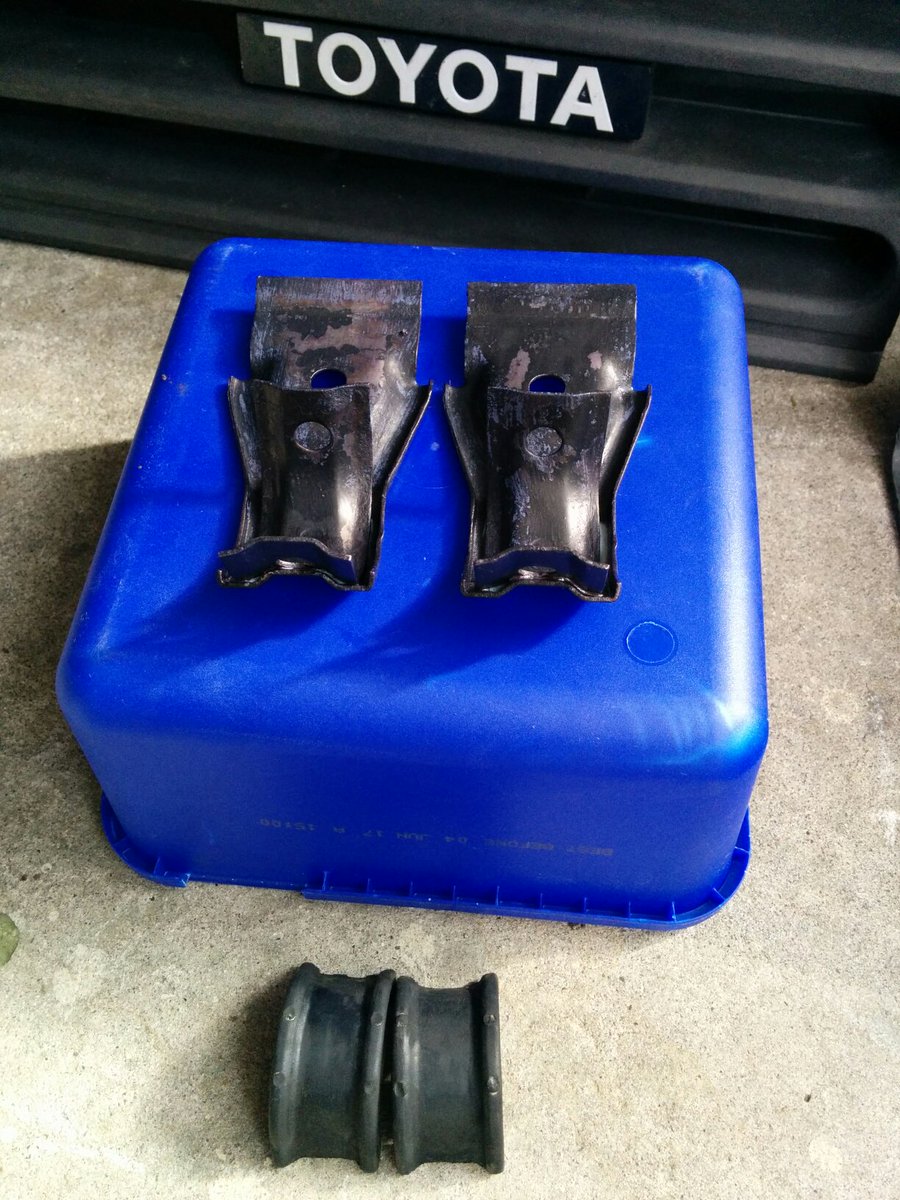
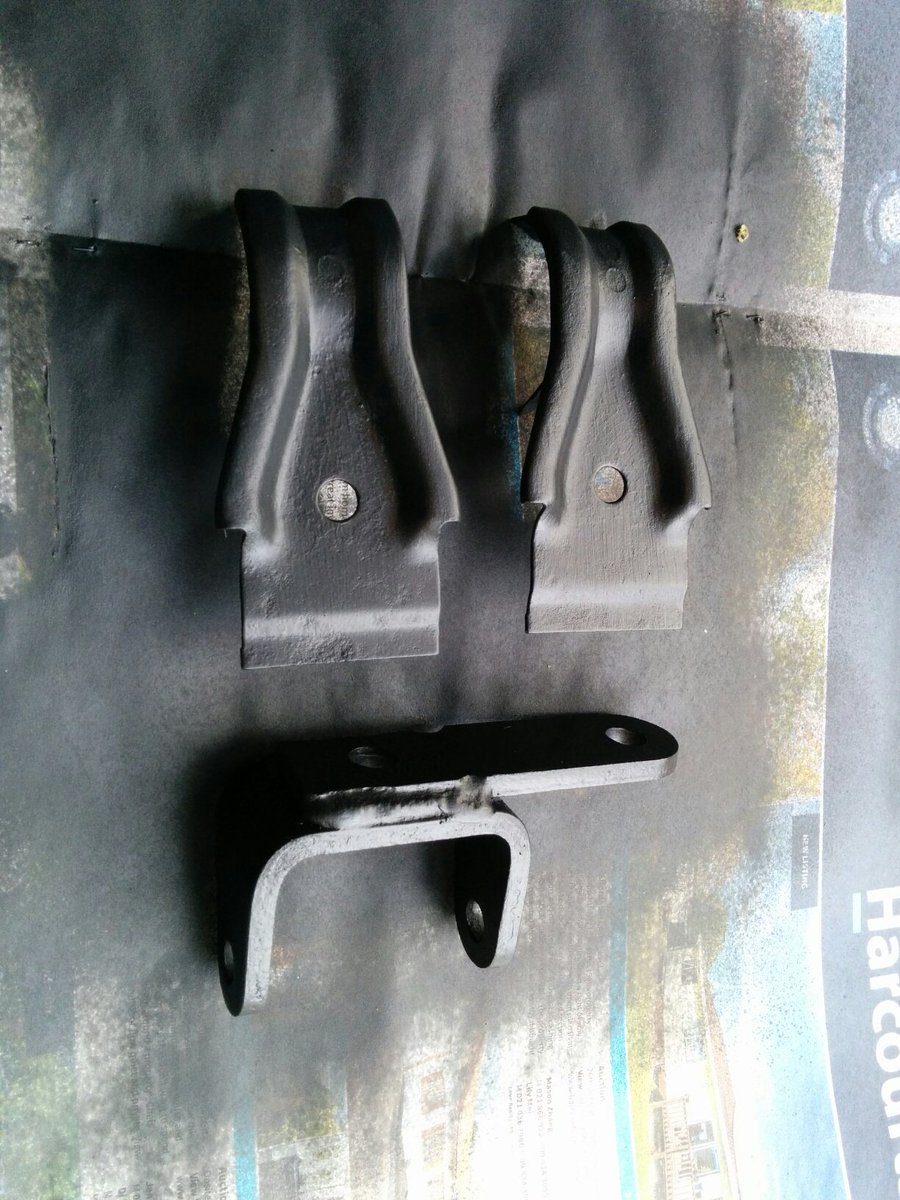
- Derust and paint a few items
- Pull the radiator support out of the car, clean up, paint, reinstall
- Scrub rusty water stains from fan shroud
- Scuff up the pump mounting face until bright steel
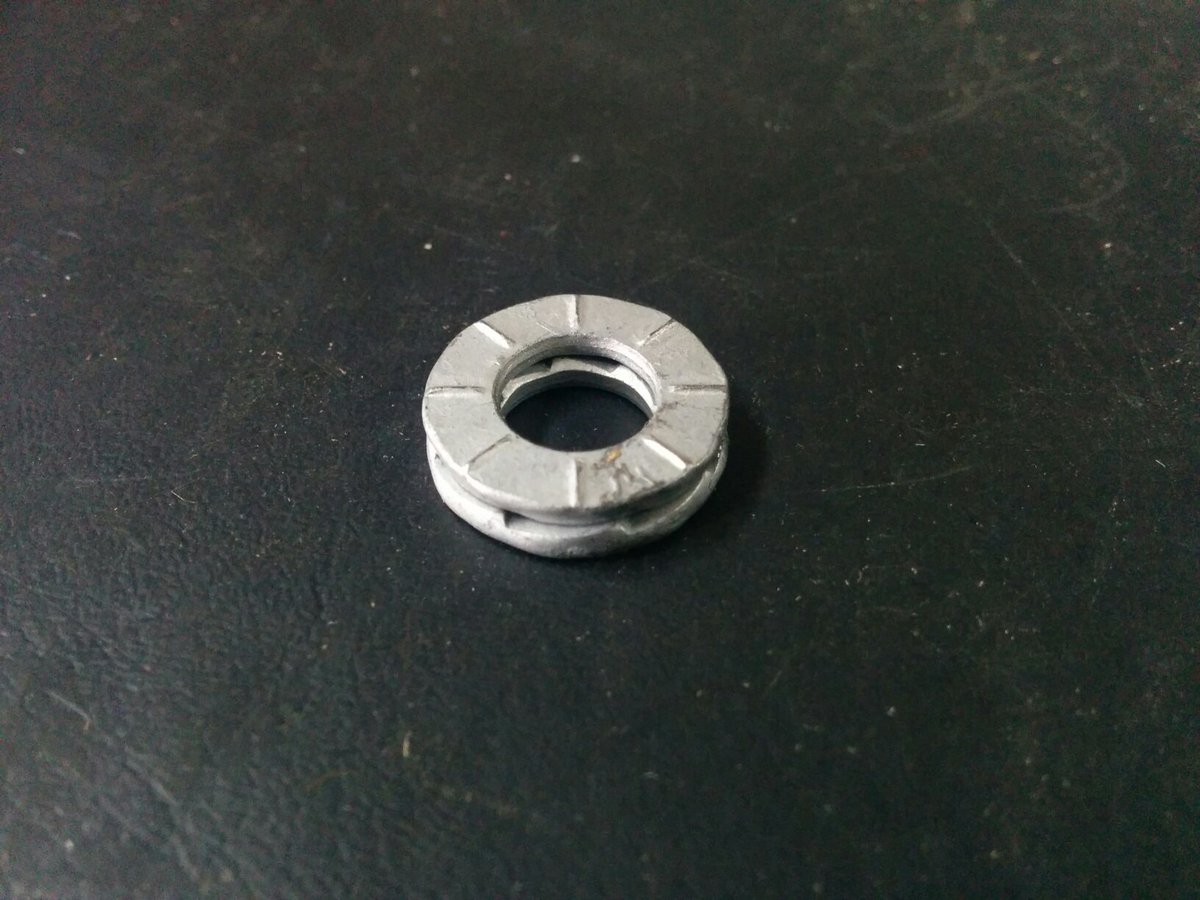
- Clean various fasteners that are greasy and/or rusty
- Install the new water pump with a small amount of well placed silicone
- Get the alternator fixed ASAP
- Reinstall pulley, trigger wheel, bracket, sensor, bolts
- Reinstall alternator and belt, tension belt correctly
- Refill with water for the first time, bring up to temperature, check for pressure and leaks
- Drain water, refill with glycol coolant at 35% and water 65%
On the weirder side, it was slower post oil change! Why?
1) Higher oil level
2) Old oil was broken down and thin
IE, higher net friction post change.
Tweets to come. Yet to upload. Shower time!


 ]
]